Instructions for First-Time Use of GiftAider Cloud
1. First Steps (One-Time Setup)
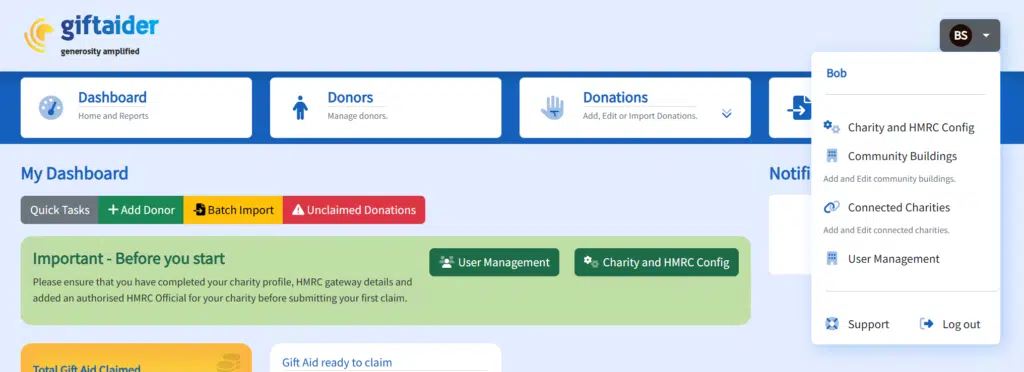
To ensure everything is set up correctly, please follow these steps. Both features can be accessed by clicking on your profile logo in the top right corner of the screen, or via buttons on the main dashboard.
User Management:
- Ensure that your HMRC authorised official’s profile matches exactly with HMRC records, and that the "Registered with HMRC" flag is checked.
- Verify that you have a user who is authorised to initiate a claim, and confirm their profile is marked as "Allowed to submit claims."
Charity and HMRC Configuration:
- Double-check that all your Charity Details are correct in the "Charity and HMRC Configuration" section, as incorrect information will prevent your submission from being successful.
2. Setting Up a Mapping and Importing Donations
Set Up a Mapping and Import Donations:
- From the Dashboard, click “Batch Import” or go to Donations in the top menu and select Import, then "+ Add."
- Click "Choose File" under "Upload your data."
- Select your file (e.g., April 2024 Donations.csv).
- When the "NEW mapping" button turns green, click it.
- Name your mapping and set up the necessary fields. Most fields will auto-match, and we strive to align your headings with ours. If you provide a sample file, we can further improve this process for future imports.
- Ensure the following fields are mapped or confirmed: First Name, Last Name, Address 1, Postcode, Amount, and Date.
- Click "Save" to save your mapping.
- Click "Place Job" to start the import process.
Handling Errors During Import:
- As your import processes, our system will check for errors. If any are detected, you have several options:
- Fix Errors Within GiftAider Cloud:
- Click the "View Data" button.
- Check the "Show Errors Only" box.
- Review and correct any issues, such as expired donations, invalid postcodes, or incomplete data. You can edit or delete records as needed.
- Cancel the Import:
- If preferred, you can cancel the import, correct the data at its source, and re-upload the file later.
- Merge Your Import File:
- You can also choose to merge your file, excluding records with errors.
- After addressing any issues, click "Merge Data" to finalise the import. Donations without errors will be ready for submission.
3. Submitting a Claim
Once your data is merged and error-free, it will be ready for submission:
- Click "Claims" and then "Submit Claim" to begin the submission process.
- Select a Submission ID.
- Choose the authorised official from the available list.
- Enter the HMRC Gateway Password.
- Tick the "I agree" checkbox and click "Submit."
Your submission has been added to your job queue and will be processed and submitted shortly.
Checking Your Submission Status
To verify if your submission has been successfully received by HMRC:
- Click on "Claims" and then select "View Claims/Past Claims" to see the status of your submission.
- For more details, click "View" to access the R68 download option and additional claim information.
By following these steps, you can ensure a smooth setup and submission process with GiftAider Cloud.
Last updated on: March 20, 2025